Document Preparation for Scanning: Your Essential Guide
By Taye Okonkwo • 3rd Oct

Let's talk about document preparation for scanning (the unsung hero of a smooth digitization workflow). When you nail this step, you'll transform chaotic paper piles into searchable, cloud-ready files with actual reliability. Forget wrestling with jams or redoing scans; preparing documents for digitization the right way is what makes your Monday mornings start with "Got it done!" instead of apologies. I've seen time and again: automation fails when paper fights back. But when you set documents up for success? That's when your scanner becomes invisible magic.
Why Bother With Prep? (It's Not Just Staples)
If it's fiddly, it won't survive Monday morning.
You might think scanning speed is about your machine's specs. Truth is? Document preparation for scanning determines 80% of your success. Think about it: no scanner, no matter how expensive, can read through paperclips, creases, or sticky notes. Worse, skipping prep turns simple jobs into fire drills. One jammed receipt can derail your entire workflow, forcing you to rename files, re-scan batches, or hunt missing pages. For busy teams like yours (juggling client files, invoices, or medical records), this isn't just annoying, it risks deadlines and trust.
The fix? Treat prep like part of the scan job itself. Spend 5 minutes prepping, save 30 minutes fixing. Simple.
Your Document Prep FAQ: Straight to the Point
Q: "Do I really need to remove every staple?"
A: Yes, and here's how to do it fast without tearing pages.
Staples cause jams, double-feeds, and scanner damage (especially with high-volume ADF feeders). But ripping them out haphazardly? That's how corners get shredded. Instead:
- Slide your thumbnail under the staple's outer edge to lift it gently.
- Pinch the staple's loops with needle-nose pliers (keep a pair at your scan station!).
- Pull straight up (no sideways twisting).
Pro tip for mixed stacks: Place a small tray labeled "Staple Zone" beside your scanner. As you sort documents, drop staples here. No more chasing stray metal across your desk!
Q: "My documents are crumpled or damp. How do I clean them safely?"
A: Skip the steam iron! Use these damage-free techniques.
Document cleaning techniques aren't about perfection, they're about readability. For fragile papers (old receipts, legal docs):
- Smooth creases by laying the document face down on a clean table. Glide your palm from center outward - no pressure on text!
- Dry damp pages by sandwiching them between paper towels. Weight with a book for 10 minutes (never use heat!).
- Remove stuck tape with a credit card edge: Slowly lift the corner, then peel parallel to the paper.
Remember: A slightly imperfect scan beats a torn original. If a page is too damaged, scan it as is, then note it for future replacement.
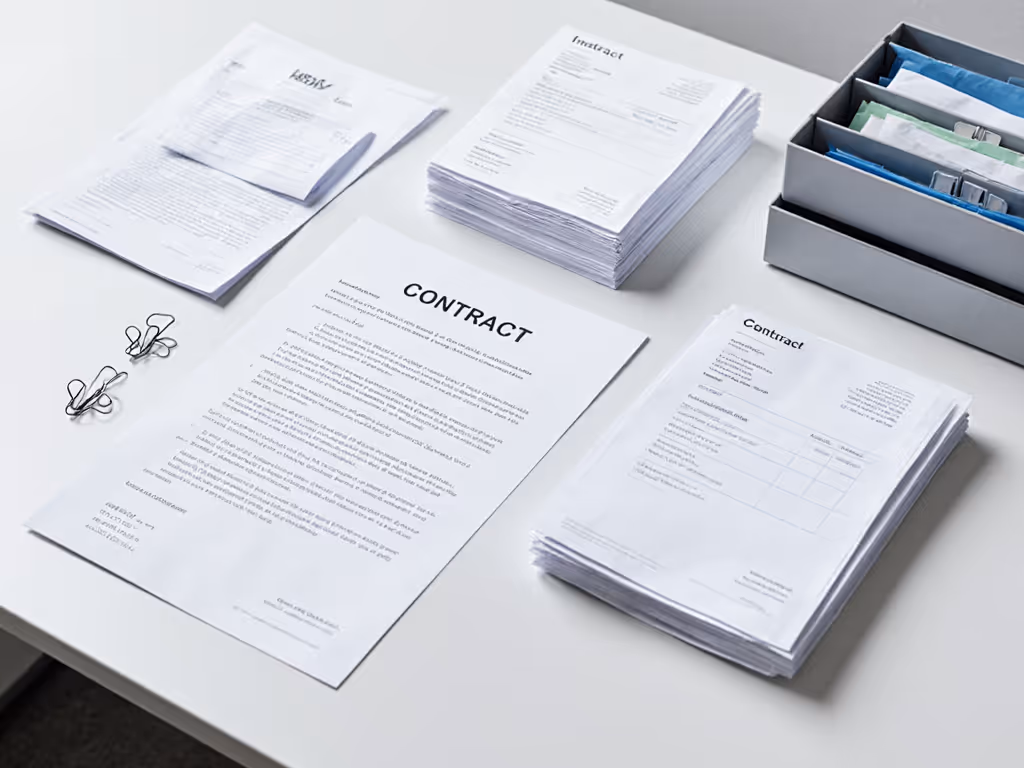
Q: "How should I sort documents when I have mixed types? (Contracts, receipts, ID cards)"
A: Sort by texture first, then type, to prevent jams.
Mixing paper thicknesses (receipts + legal docs) is the #1 cause of double-feeds. Save time later by sorting before scanning:
- Group by weight: Thick cards/IDs → standard paper → thin receipts. Scan thickest first (rollers grip better).
- Flag fragile items: Use sticky notes on the back for brittle pages or photos.
- Separate batches with a blank cover sheet (more on this magic trick below!).
Why texture beats type: Your scanner's rollers care more about how paper feeds than what it says. This method keeps batches flowing, no more stopping to adjust settings mid-job.
Q: "What's the #1 thing I can do to prevent paper jams during scanning?"
A: Flatten and fan pages like a deck of cards.
Preventing paper jams during scanning starts before documents hit the ADF. Here's your 30-second ritual:
- Thump the stack on your desk to align edges.
- Fan pages gently (like shuffling cards) to separate them.
- Load only 1/3 of the ADF capacity (yes, even if it looks empty!) If jams persist after good prep, see our scanner maintenance guide for cleaning and feed-roller fixes.
Real-world example: I once watched a nonprofit team clear a 2-week backlog in one afternoon. They'd been jamming constantly because volunteers tossed crumpled intake forms into the scanner. We added one step: "Smooth, then fan." Overnight, jams vanished. One button, predictable result.
Q: "How do I make non-tech staff actually do this prep consistently?"
A: Build it into your workflow (no extra steps).
This is where most teams fail. They create another checklist nobody follows. Instead:
- Place prep tools on the scanner (staple remover, smoothing board).
- Add a 1-minute "desk sweep" to your daily routine (e.g., "Before lunch, prep today's scans").
- Use barcode coversheets between job types (e.g., a "CLIENT INTAKE" sheet auto-routes to the right Drive folder).
Core truth: Automation succeeds when the least technical person succeeds first. If Sarah the intern can't do it blindfolded, it's too complex.
Your Action Plan: Start Today, See Results Tomorrow
You don't need new hardware to upgrade your scanning. In fact, I've fixed more workflows with better prep than better scanners. Try this now:
- Grab your next stack of documents to scan.
- Spend 2 minutes removing staples, smoothing creases, and fanning pages.
- Scan it - no extra software tweaks.
Notice the difference? Fewer jams. Cleaner PDFs. Less "What went wrong?" time.
This is how you turn scanning from a chore into a quiet superpower. Because when paper disappears quietly into the cloud, you reappear, working on what truly matters. Your staff stops dreading the scanner. Audits stop keeping you up at night. And yes, Monday mornings start with wins.
Your next step: Tomorrow, pick one recurring scan job (invoices, client forms, etc.). Apply these prep steps before scanning. Track how many fewer "fixes" you need. Then do it again. In a week, you'll have a workflow so smooth, even your busiest team members will use it without thinking.
One button. Predictable result. Every. Single. Time.
Related Articles