Forensic Document Scanning: Resolution for Admissibility
By Taye Okonkwo • 23rd Feb
When you scan a document for legal or compliance use, two things must happen at once: you create a trustworthy digital copy, and you prove it's trustworthy to a court or auditor. Forensic document scanning bridges that gap by combining high-resolution capture with a documented chain of custody, so your scanned files hold the same legal weight as originals, and you can defend that choice under scrutiny.
Let me walk you through what admissible scanning actually means, why resolution and process matter, and how to set up a workflow that works for your busiest Monday.
Why Resolution Is Your First Legal Checkpoint
What does "legal resolution" actually mean?
The federal courts don't demand perfection: they demand accuracy. Under Federal Rule of Evidence 1003, a scanned document is admissible if it "accurately reproduces the original" without distortion or loss.[2] That translation from paper to pixel starts with resolution.
The minimum floor is 300 dots per inch (DPI).[2] That standard ensures text remains legible and details don't blur into ambiguity. For documents with fine print, dense tables, or technical drawings (think mortgage notes, medical charts, or construction specs), 600 DPI is the safer choice.[2] You're not paying for marketing polish; you're buying proof that a judge or an auditor can read what you scanned. For a quick refresher on DPI, bit depth, and speed trade-offs, see our scanner specs guide.
When does resolution become a legal weakness?
If your scan is too dark, too light, cropped unevenly, or smudged, a defense attorney or compliance officer can argue it's not a "fair and accurate replicate" of the original.[1] That's not academic debate: it's grounds for exclusion. I've seen nonprofits and small firms dodge this problem by running a quick test scan of each batch before committing to a full workflow. One button, predictable result means you see what the court will see. To prevent jams, skew, and streaks that can undermine evidentiary accuracy, follow our scanner maintenance guide.

The Authentication Checklist: Six Things You Must Document
What does "authenticated" mean in scanning?
Under Federal Rule of Evidence 901, your scanned document must be authenticated, meaning you can prove its origin and integrity.[2] This isn't a bureaucratic hoop. It's the difference between "we scanned this" and "we can prove we scanned this correctly."
Here's what the court expects:
- Witness testimony or certification: Someone with personal knowledge (you, or a staff member trained on your process) confirms the original and scan match.[2]
- Chain of custody documentation: A record showing who handled the original, when it was scanned, and that no edits happened after scanning.[1][2]
- Metadata and audit trails: Your scanner or software logs the date, time, and operator for each job. Modern systems capture this automatically if you configure them.[2]
- Evidence of no alteration: Your forensic analyst (or your scanning software) confirms the images were not edited or compressed in ways that would distort them.[1]
- Secure storage documentation: Proof that scanned files were stored with access controls and encryption, preventing unauthorized changes.[2]
- Quality and completeness record: A note that all pages were scanned, no images were skipped, and the resolution met your standard.[2]
None of this requires expensive legal software. A spreadsheet, a label on your scanner profile, and a folder structure do the job. The goal is a paper trail that a junior attorney can follow without calling you for help. For securing endpoints and storage in regulated environments, see our zero-trust scanner security.
Why does chain of custody matter more than the scanner brand?
I worked with a nonprofit intake team struggling with volunteer burnout over scanning. They had a decent machine but a chaotic process: papers stacked on desks, scans dropped into random folders, nobody sure what had been digitized or when. I mapped their actual steps, added barcode coversheets to batch their documents, and built a one-button profile that routed files directly to Drive folders with OCR tags and metadata auto-filled. In one afternoon, their backlog vanished. Monday mornings stopped starting with apologies.
The machine didn't change. The friction did. If it's fiddly, it won't survive Monday morning, and if the process is fiddly, your chain of custody breaks. Document your routine, train every person on it, and automate what you can so the least technical volunteer succeeds first.
Admissibility Standards: What the Courts Actually Expect
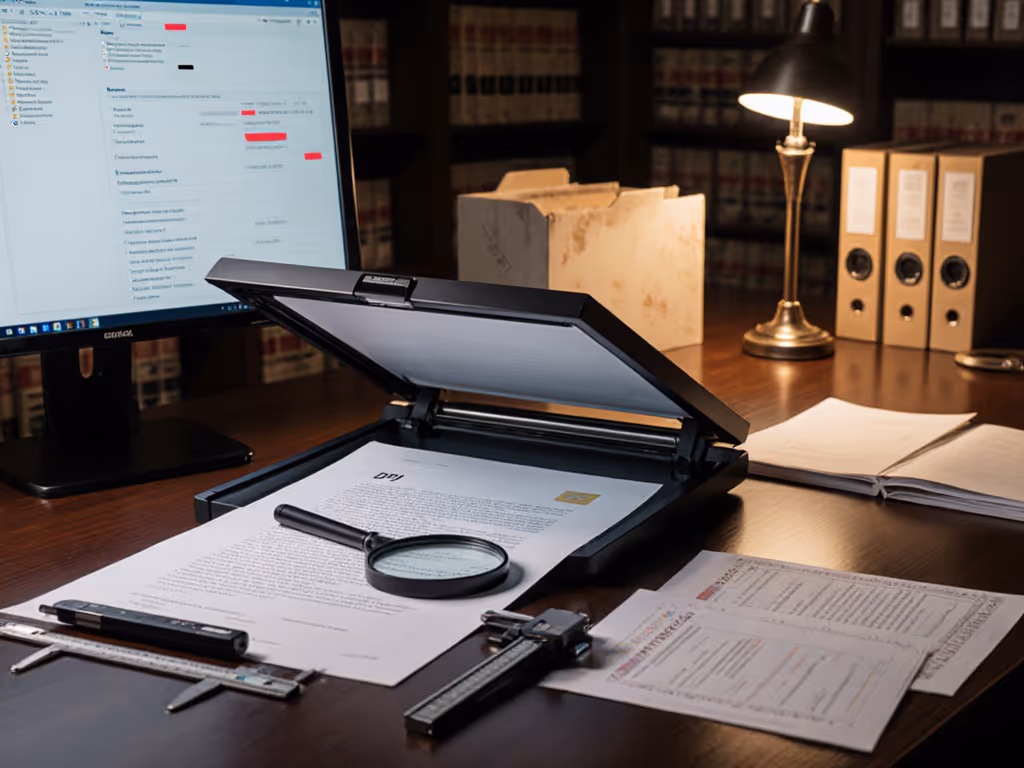
Can digitally enhanced images (like close-ups or sharpened text) be used as evidence?
Yes, with one strict rule: the original must be in evidence for comparison.[1] Think of enhancement as your detective's magnifying glass, not a rewrite. The court needs to see what you enhanced from and what you changed to.
Enhanced digital imaging (used in fingerprint or photo analysis) is "generally accepted in the relevant scientific community."[1] The FBI and the Scientific Working Group on Imaging Technologies (SWGIT) publish standards for digital image quality that courts recognize.[1] So if your software enhances a faded document by adjusting contrast or removing shadows, document why you enhanced it and how, and keep the original scan unmodified in your files.
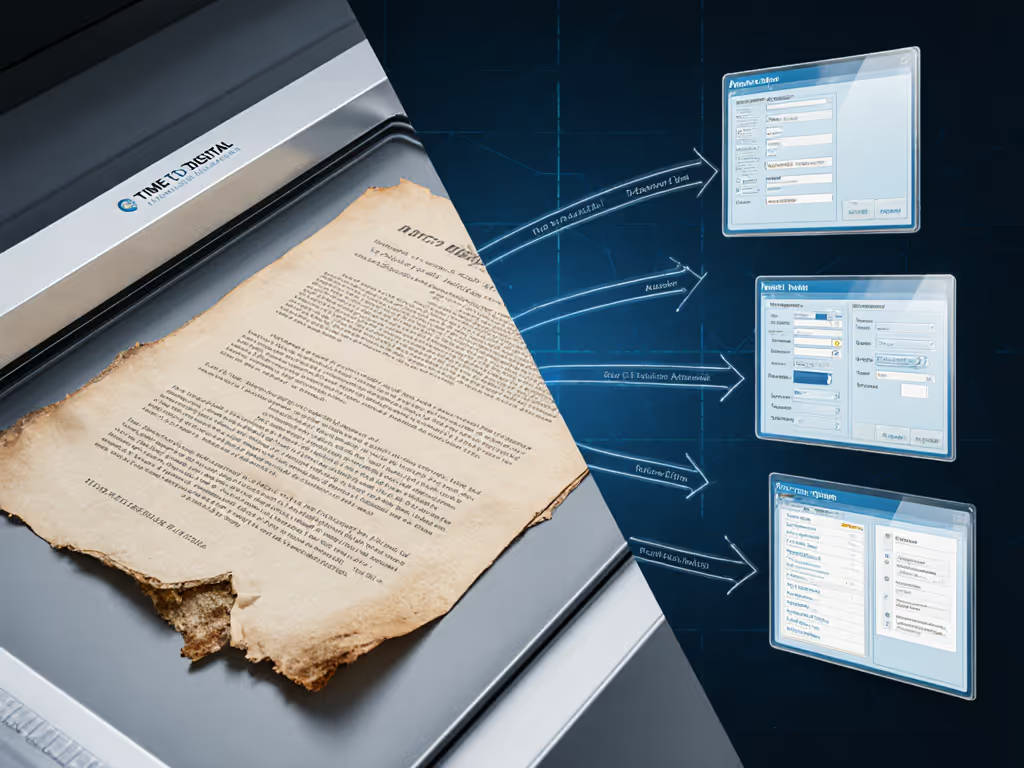
What if the original document is damaged or illegible?
Scan it at your highest resolution anyway, 600 DPI or more if your scanner allows it, and create an audit trail explaining the original's condition.[2] A judge can assess whether enhancement or high-resolution capture helped recover the information, or whether the damage was too severe. Transparency beats excuses.
Building Your Admissible Scanning Profile: Practical Steps
How do you actually set up a court-ready scanning process?
Start here:
Choose your defaults. Set resolution to at least 300 DPI (600 if your documents are dense). Enable color (not grayscale, which loses detail), deskew, and auto-crop so every scan is clean and aligned. Test these settings on sample documents before you deploy them to your team.
Name files with a system. Don't rely on memory. Use a format like [DocumentType]_[Date]_[ClientOrMatter]_[PageCount]. This naming convention becomes part of your audit trail and keeps scans findable without clicking through twenty folders.
Log every scan job. Have your software or a shared spreadsheet record the date, operator, document type, and destination. This log is your chain of custody. It answers the question "Who scanned this, and when?" without guesswork.
Route directly to a secure, backed-up location. Whether that's a Google Drive folder with permission controls, a SharePoint document library, or an encrypted external drive, ensure the destination is protected and logged.[2] Scans sitting on the scanner's glass plate or a shared desktop invite loss and tampering.
Train one person to own the profile. Not because it's complex, but because consistency is your legal shield. One person sets the profile, tests it monthly, and trains everyone else. If something breaks, there's one place to look.
Keep the originals until you're certain. Compliance rules and retention schedules vary by industry and document type, so check your legal or accounting guidance. Until you have clearance to shred, store originals in a secure, labeled place. If a scan is ever challenged, the original is your backup proof.
Compliance Wrinkles: When Your Industry Adds Friction
Do healthcare scans need extra steps?
Yes. If you're handling Protected Health Information (PHI) under HIPAA, scans must be encrypted during transmission and storage, logged for access, and accessible only to authorized staff.[2] This is table-stakes, not optional. If you're using cloud storage, confirm your provider has a Business Associate Agreement (BAA) in place. For vetted hardware options, see our HIPAA-compliant scanner roundup.
What about legal documents and client data?
Law firms must protect scanned client files with the same rigor as originals, role-based access, encryption, and a detailed chain of custody record.[2] If you're a solo or small practice, use a document management system (not just a folder) so you can audit who viewed what, when.
How does financial scanning differ?
Financial institutions and accounting firms follow SEC, FINRA, and SOX rules on record retention and accessibility.[2] Scans must be searchable and retrievable for audit, so your naming convention and metadata become compliance evidence. File your scans in a structure that an auditor can follow. To ensure audit-ready searchability, use our reliable OCR guide.
Your Next Step: Test One Profile This Week
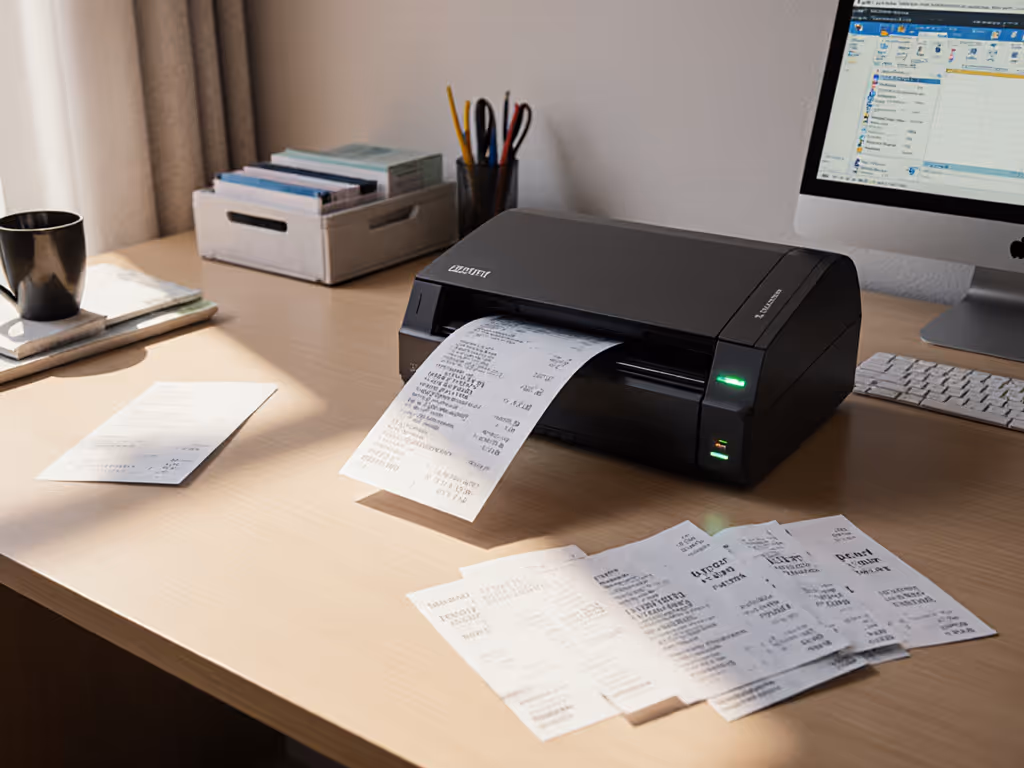
Don't digitize your entire backlog next Monday. Instead, pick one common document type, invoices, intake forms, receipts, whatever crosses your desk most, and create one admissible profile:
Set your resolution to 300 DPI (or 600 if the original is detailed). Enable auto-crop and deskew. Scan five sample pages and examine them on screen. Can you read every word? Is the image stable and aligned? If yes, move forward.
Name a test folder with your file format and store it in a secure location. Document the date and folder location on a simple checklist.
Have one team member run the profile while you watch. If they're not certain, your profile isn't simple enough. Revise until the instructions fit on a note card.
Scan the five samples again, log the job, and file them. One button, predictable result is the test: can your least technical staff member run this without fiddling, without calling IT, without losing the documents?
Once that profile survives a week, scale it. Add a second document type. Train the rest of the team. And when compliance or a client asks if your scans are admissible, you'll point to your log, your settings, and your routine, proof that you did it right from the start.
Related Articles

Preparation, Care & Troubleshooting
Document Preparation for Scanning: Your Essential Guide
Use a simple, repeatable prep routine - remove staples, smooth creases, sort by paper weight, and flatten/fan pages - to prevent jams, reduce rescans, and produce cleaner, reliable PDFs. Embed these steps into daily workflow so even non‑technical staff get one‑button, predictable results.